


Congratulations to Bruce for finding Dinosaur #12!

Congratulations to Alex for finding Dinosaur #13!
Things didn't go exactly as I had planned for this hunt. First off, I borrowed the puzzle from Mastermind Puzzle Hunt's Monthly Puzzle. I had to modify it slightly to make the answer fit, which I think allowed for some abberations. Here's Alex & Jake's completed puzzle, with the correct sections circled:

Somehow, Nnekay found a combination that did not give the correct answer, but still added up to the correct corresponding numbers:

...so, if this happened to anyone else, sorry!
The coded message was: LIBERTY BELL SLOT MACHINE


I left to go grab a smoothie, and came back in time to catch Bruce going to the final location. When I asked him about how he found the painting, he said "I asked at the security desk inside the building about a vent, and they pointed me over here." Unfortunately, he had completely missed the vent I meant for him to check! I had another painting with me, so I decided to replace it and see if anyone else would find the other clues. I asked Alex (and her boyfriend Jake) and they ALSO went straight to the finish point! So, here is what was missed.
From the plaque, crossing the street and heading up market, there were dinosaur stickers leading to the correct vent:


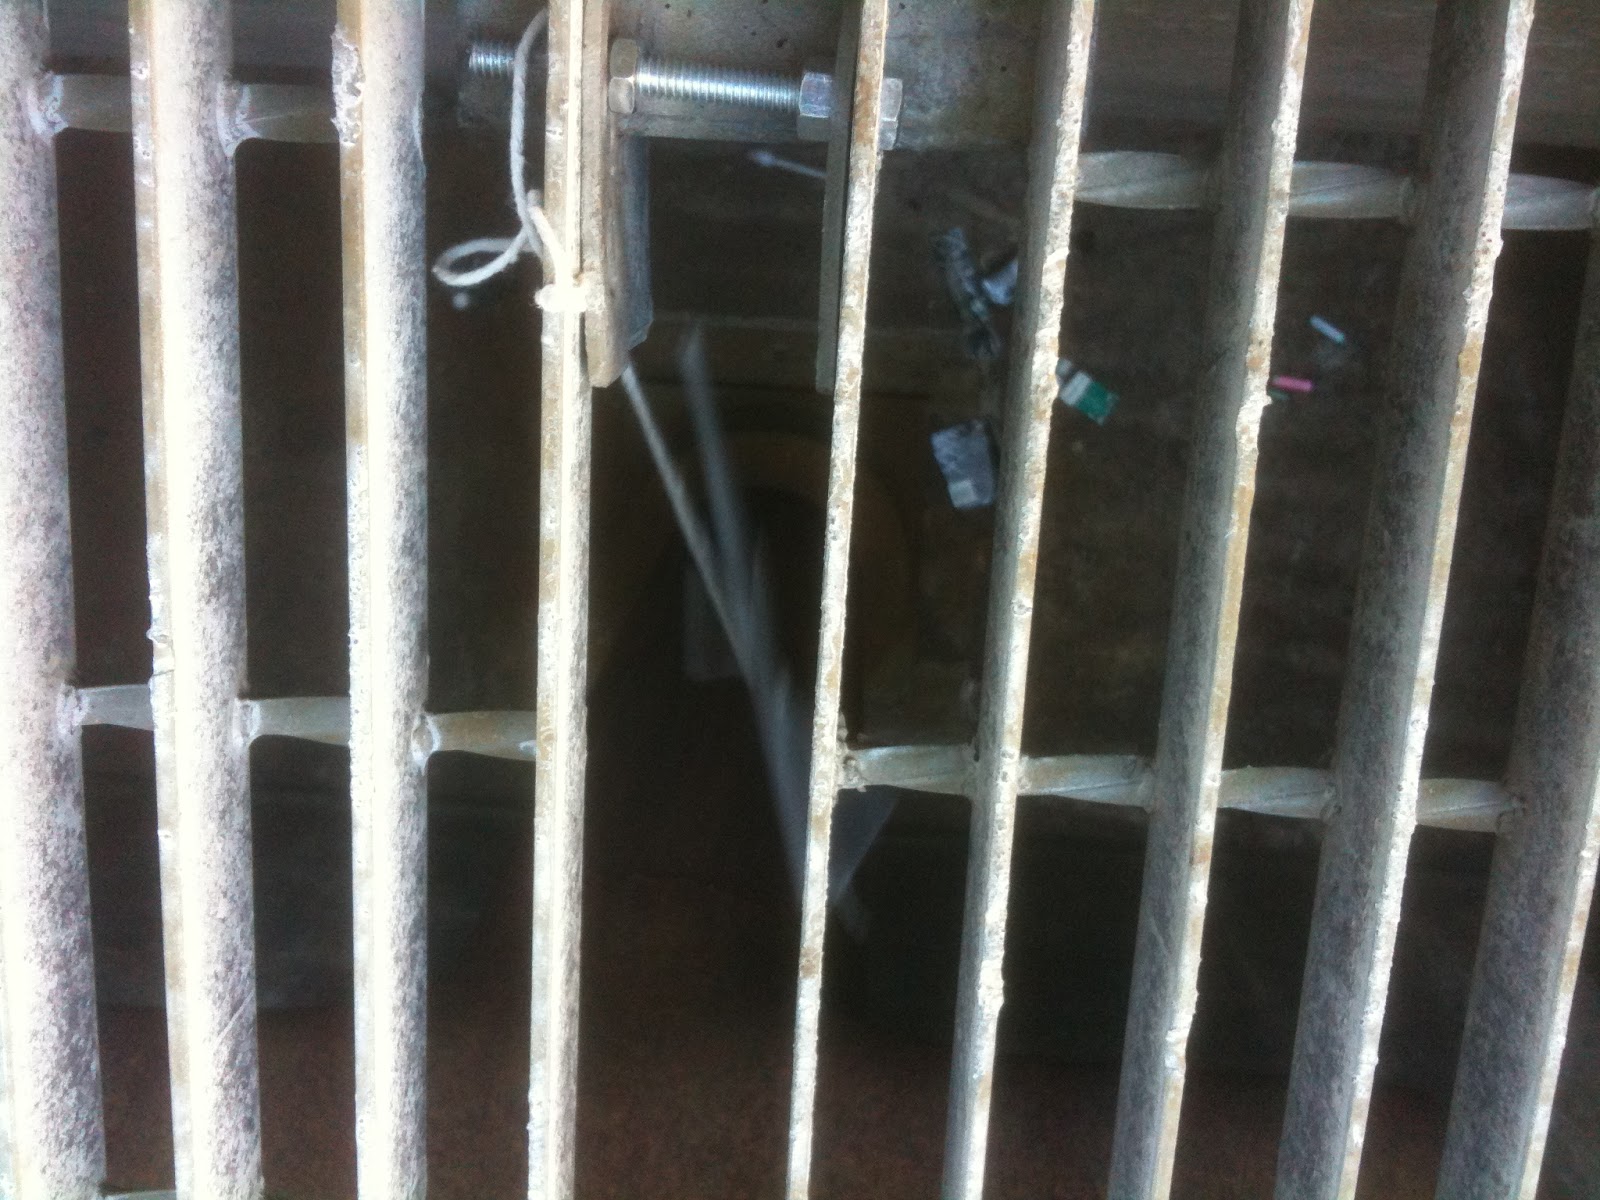
Suspended inside of the vent on a string is a clear plastic envelope. Inside the envelope there is a piece of paper with this image printed on it:

The background image image is the tiled windowless wall of a nearby building, and on the wall is the other half of a QR code:

When the QR code is put together, it looks like this:

For those of you with smartphones, you can scan that now to see what comes up. Everyone else, you can see the result by clicking this link.
All of the clues are still in place, so if you're in the area, I recommend giving it a look. The final location corresponds to the dinosaur in painting #12.
 |
| Dinosaur #12 |
 |
| Dinosaur #13 |
The lesson I need to learn from this: I need to specify the locations better, and find a good balance in the level of difficulty.
No comments:
Post a Comment